
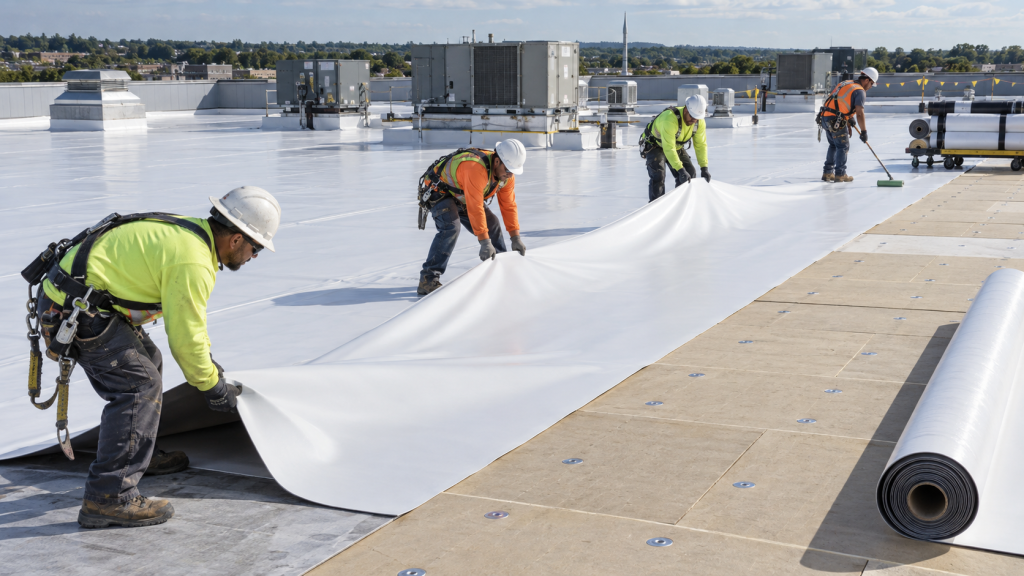
Flat roof replacement is the best chance you will ever get to fix drainage for good. A low-slope roof only works when water moves off it quickly. When water sits in puddles, it ages the membrane, adds weight, and finds every weak seam. Many older roofs were built with poor slope or have sagged over time. A replacement lets you rebuild the roof the right way, from the deck up. This guide explains how to plan drainage, choose materials, and design details that keep a flat roof performing for decades.
Owners, facility managers, and architects can use it to ask the right questions before the tear-off begins.
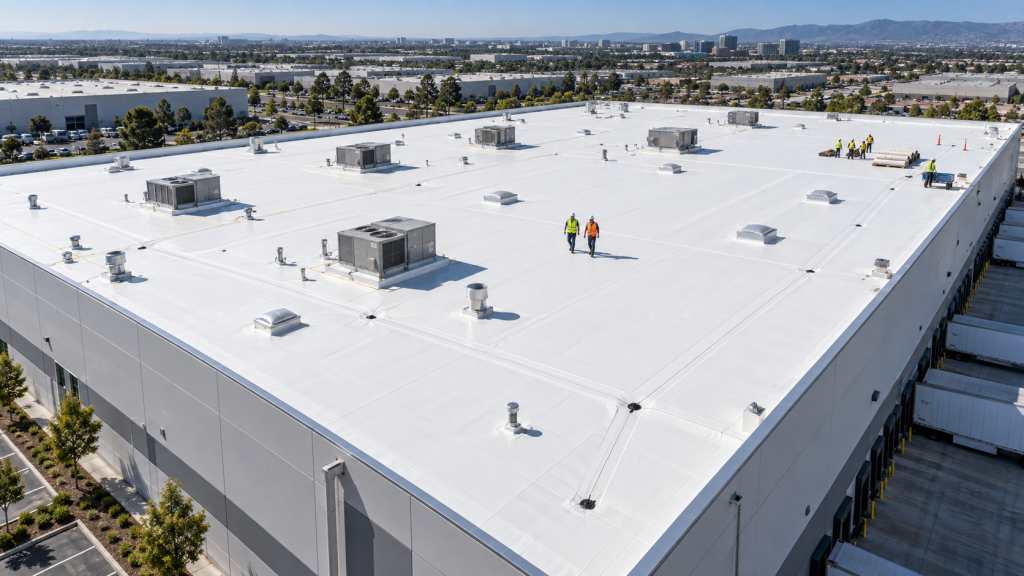
Why Drainage Matters So Much
A low-slope roof is never perfectly level. Instead, it relies on a slight fall to send water toward its outlets. Codes typically require a minimum slope for new roofs. Without it, water ponds.
Unfortunately, ponding water causes many problems. First, it speeds up membrane wear, especially along seams. Second, heavy puddles stress the structure. Third, standing water breeds algae and collects dirt. Moreover, any small hole under a puddle becomes a constant leak. So good drainage is the foundation of a long-lasting roof.
Step 1: Study the Roof Before Flat Roof Replacement
Before planning a flat roof replacement, study how water moves now. Walk the roof a day or two after rain and mark every puddle. Check drains for clogs, cracks, and low spots. Look at the deck from below for sagging or rust.
In addition, look at the history. Where have leaks happened? Where does water collect? These clues tell you where the new design must improve.
Step 2: Check the Deck and Structure
Next, tear-off exposes the deck. This is the moment to fix it. Crews should replace rusted or rotted sections and confirm the deck can carry the new roof. If the deck sags, the engineer may recommend reinforcement. A level, solid deck makes it much easier to build in proper slope.
Step 3: Design the Slope for Flat Roof Replacement
In most cases, flat roof replacement projects create slope with tapered insulation. These boards are thicker at high points and thinner near drains. Together, they form a series of gentle valleys that guide water off the roof.
Designers often add crickets too, especially behind large units. A cricket is a small, sloped section that diverts water around curbs, walls, and equipment. Without crickets, water tends to pool behind these obstacles.

Step 4: Plan Drains, Scuppers, and Gutters
Of course, water needs a way off the roof. Common options include:
- Interior drains that carry water down through the building
- Scuppers that let water out through the parapet wall
- Gutters and downspouts along the roof edge
- Overflow drains or scuppers for backup during heavy storms
Replacement is a good time to add drains, enlarge scuppers, or add overflow protection. Codes often require secondary drainage, so check local rules.
Step 5: Choose a Membrane for Flat Roof Replacement
Meanwhile, the membrane is the top layer that keeps water out. Popular choices for flat roof replacement include:
- TPO: White, reflective, and heat-welded seams.
- PVC: Similar to TPO, with strong chemical resistance for restaurants.
- EPDM: Durable rubber with a long track record.
- Modified bitumen: Multi-layer and tough under foot traffic.
- Built-up roofing: Traditional layers of asphalt and felt.
Each system has strengths. The best choice depends on climate, building use, budget, and foot traffic. In sunny regions, a bright white surface can cut cooling bills. Reflectivity ratings are listed by the CRRC.
Step 6: Insulation and Energy
In fact, new insulation does double duty. It creates slope, and it cuts energy use. Energy codes set minimum insulation levels, so many replacements add more than the old roof had. A cover board on top of the insulation adds strength and protects against hail and foot traffic.
Step 7: Flat Roof Replacement Edge Details
However, drainage alone is not enough. Most leaks start at edges and openings. So plan quality flashing at walls, curbs, pipes, and parapets. Use proper edge metal and coping. Make sure each detail sheds water rather than trapping it.

Step 8: Plan for Rooftop Equipment
HVAC units and other equipment can block water flow. During flat roof replacement, crews may raise curbs, add crickets behind units, or relocate equipment to improve drainage. Coordinate this work with your mechanical contractor.
Step 9: Add Walkways and Protection
Also, foot traffic wears membranes, especially around equipment. Walk pads create safe paths and protect the roof. In addition, they guide service techs to the right areas.
Step 10: Inspect and Maintain
Finally, even the best roof needs care. Schedule inspections each spring and fall. Keep drains clear of leaves and debris. Fix small issues quickly. Our roof maintenance guide offers a simple plan.
Snow, Rain, and Climate
Climate shapes drainage design. In rainy regions, drains and scuppers must handle heavy downpours. In snowy places, melting snow can refreeze at drains and edges. So designers may add heated drains or larger outlets. In hot climates, ponding water evaporates quickly but still leaves dirt rings that age the membrane. A local roofer knows how your weather affects a flat roof replacement.
Working With the Building Code
Codes set rules for slope, secondary drainage, insulation, and fire ratings. Model codes from the International Code Council form the basis for many local rules. Your roofer or designer should confirm which version applies. In many areas, a permit and inspection are required for flat roof replacement.
Budgeting for Drainage Upgrades
Drainage upgrades add some cost. Tapered insulation, new drains, and crickets all cost money. Still, they often pay for themselves by extending roof life and cutting leaks. In addition, a roof that drains well keeps its warranty valid, since many makers exclude damage from ponding. So budget for drainage as part of the core project, not an optional extra.
A Simple Example
Picture a strip center with puddles that last a week after each storm. The old roof has one drain at a high spot and no crickets behind its rooftop units. During flat roof replacement, the team adds two new drains at the low points. Then they lay tapered insulation that slopes toward each drain. Finally, they build crickets behind every unit. After the first big storm, the roof is dry within hours. As a result, leaks stop and the new warranty stays valid. The tenants notice too, since the musty smell in the back rooms finally disappears.
Flat Roof Replacement Questions for Your Roofer
- Where will water go in a heavy storm?
- Will you add drains, crickets, or tapered insulation?
- How will you handle overflow drainage?
- Which membrane do you suggest for our use and climate?
Common Mistakes
- Reusing old drains that sit at high points
- Skipping crickets behind curbs and walls
- Ignoring a sagging deck
- Forgetting overflow drainage
- Choosing a membrane that does not fit the building use
FAQ on Flat Roof Replacement
How long does flat roof replacement take?
Small roofs may wrap up in days. Large or complex ones can stretch to several weeks.
Can ponding be fixed without full replacement?
Sometimes. Adding drains or crickets can help. However, widespread ponding often needs new tapered insulation.
Plan a Roof That Drains for Decades
Good drainage design protects your investment for years. Visit our roof replacement page, or talk with our team about your building.